System Requirements
Before installing WP Full Backup Scheduler, please make sure your server meets the following recommended PHP configuration values.
PHP Version = Greater than or equal to 8.0
max_execution_time = 600
max_input_time = 600
max_input_vars = 10000
memory_limit = 512M
post_max_size = 512M // modify it as per your backup file size
session.gc_maxlifetime = 1440
upload_max_filesize = 512M
max_execution_time = 600
max_input_time = 600
max_input_vars = 10000
memory_limit = 512M
post_max_size = 512M // modify it as per your backup file size
session.gc_maxlifetime = 1440
upload_max_filesize = 512M
These values help the plugin process large WordPress file backups and database exports without timeout or memory-limit errors.
Installation
- Download the plugin ZIP file after purchase.
- Log in to your WordPress admin dashboard.
- Go to Plugins → Add New → Upload Plugin.
- Select wp-full-backup-scheduler.zip.
- Click Install Now.
- Click Activate Plugin.
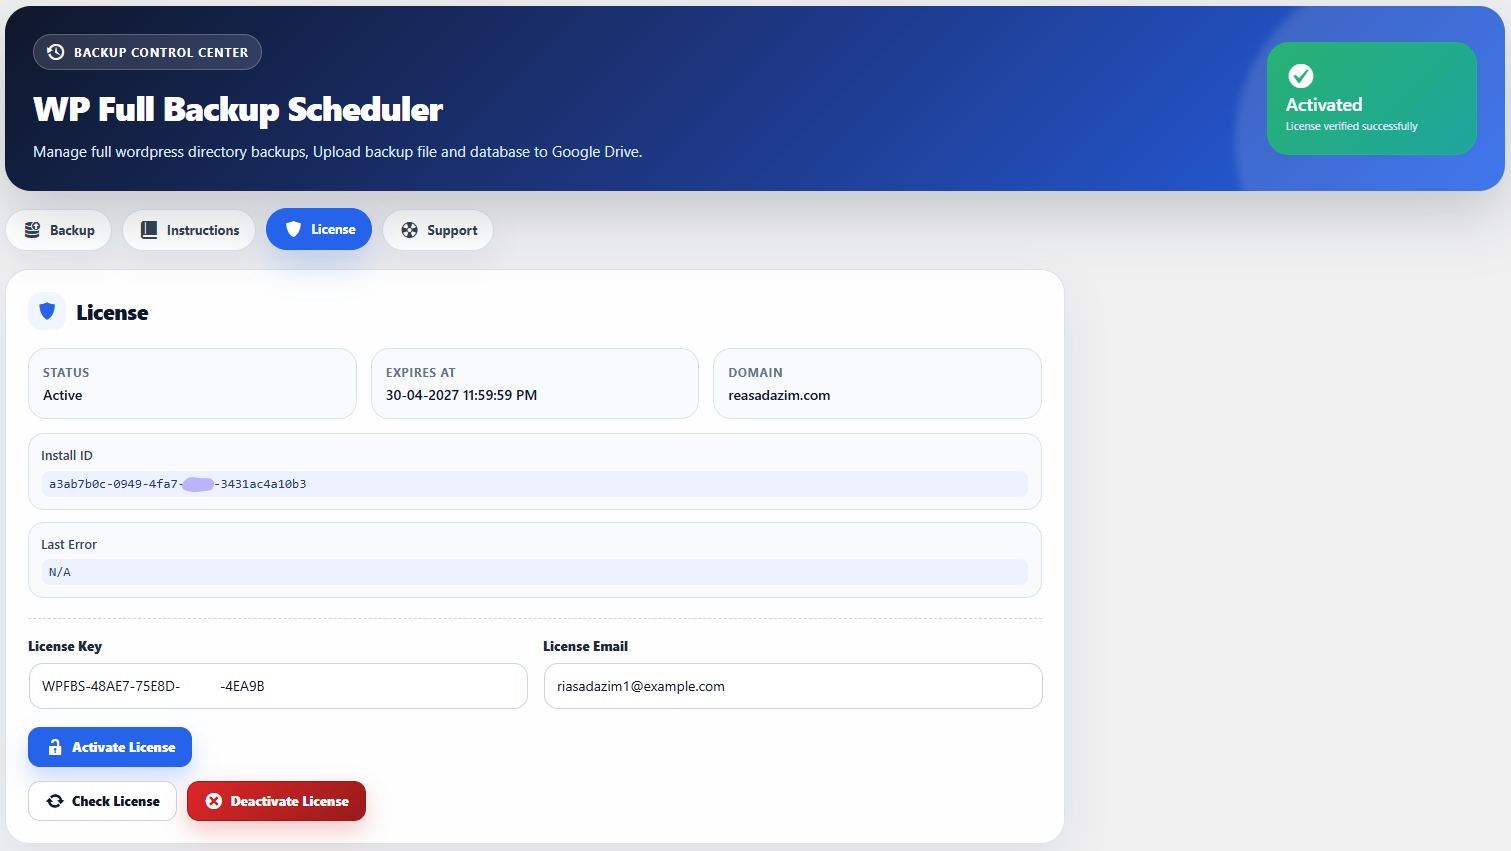
License Activation
- Open the plugin from the WordPress admin sidebar.
- Go to the License tab.
- Enter your purchase email address.
- Enter your license key.
- Click Activate License.
After successful activation, the plugin dashboard will show the license status as active.
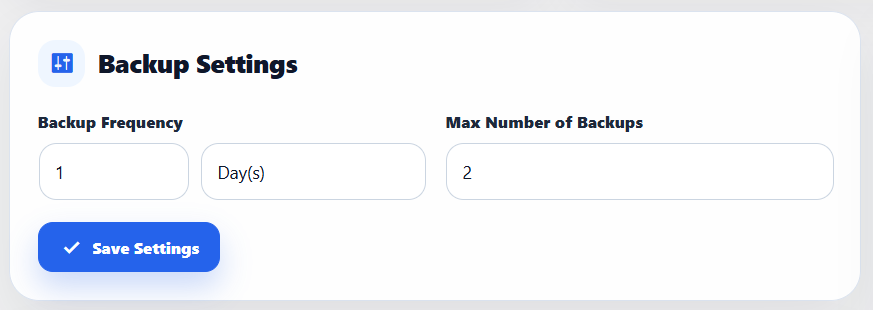
Backup Settings
- Go to the Backup tab.
- Set your backup frequency.
- Set the maximum number of backups to keep.
- Click Save Settings.
Example: Backup every 1 day and keep latest 2 backups.
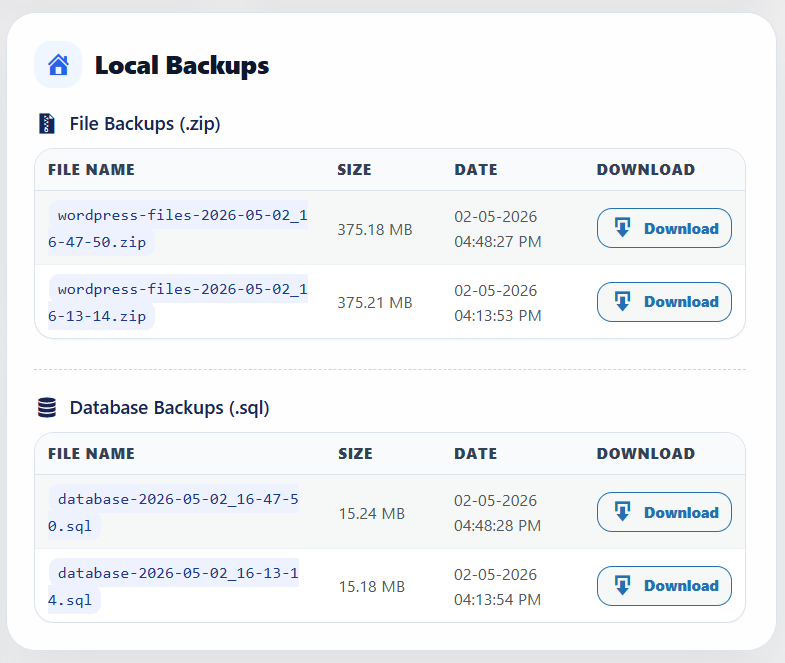
Local Backups
The plugin stores local backups inside your WordPress backup directory. You can download file backups and database backups from the plugin dashboard.
- File backups are saved as ZIP files.
- Database backups are saved as SQL files.
- Old backups are removed based on your retention settings.
Google Drive Setup
Troubleshooting
Backup fails:
- Check PHP ZIP extension.
- Check folder write permission.
- Check available server storage.
Google Drive upload fails:
- Check your credentials JSON file.
- Check Google Drive folder ID.
- Reconnect Google Drive authorization.
License activation fails:
- Make sure the license email is correct.
- Make sure the license key is copied exactly.
- Check if the subscription is active.
- If you face any problem then send an email to wpfbs@reasadazim.com